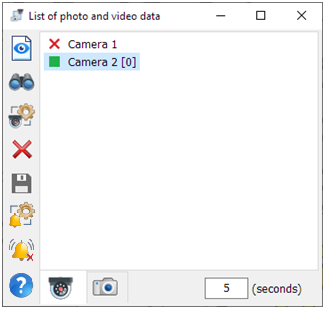
List of photo and video data |


|
|
The dialog is presented in the form of two lists that contain all map objects that have links to photo and video data:
Modes of working with the dialog
Order of connecting viewing of the camera events
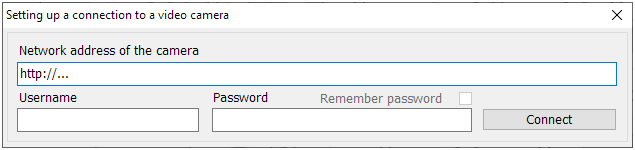
1. Select a camera in the list 2. Click on the icon to the left of the camera name. By default, receiving camera events is disabled ( 3. If the camera has authorization parameters (login - password) and they have not been saved, then you will need to enter them to connect to the camera.
If the authorization parameters have been saved, then the first time you connect, you will need to enter the code set by the user to save them.
4. Set the period for polling the cameras about events in the lower right corner of the dialog
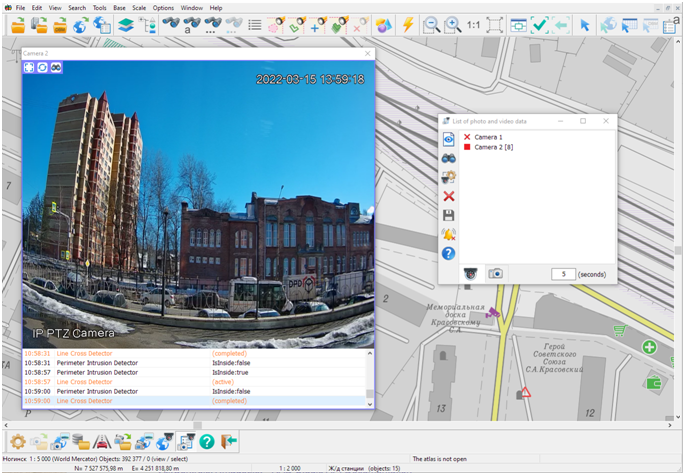
After connecting the mode of viewing the camera events, the view of the icon will change. Indication of events:
Classification of the camera events: - movement of people, cars and other objects - determining the fact of crossing the perimeter of the closed zone - the appearance or disappearance of subjects - others.
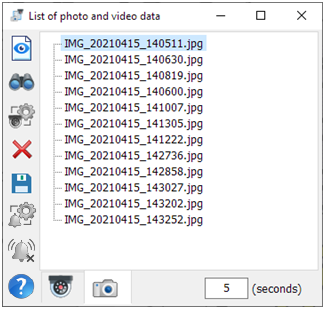
When receiving events, the line with the camera name in square brackets indicates the number of active events To view video data, the time of the event occurrence and its classification, you must select the «Viewing photo- or video data» mode
To disable the mode of polling the events of camera, click the icon of events of camera again. If the camera does not support the event polling's functionality, then after the first attempt to connect, the event status icon will look like
Possibility of viewing the newly appearing events is preserved in open windows of viewing the video image for all customized cameras and after closing the «Share your photos with the coordinates of the shooting» task, and in the next GIS sessions.
An example of saving photo information from an EXIF tag
|